10 Essential Tips for Using Seed and Fertilizer Integrated Seeder?
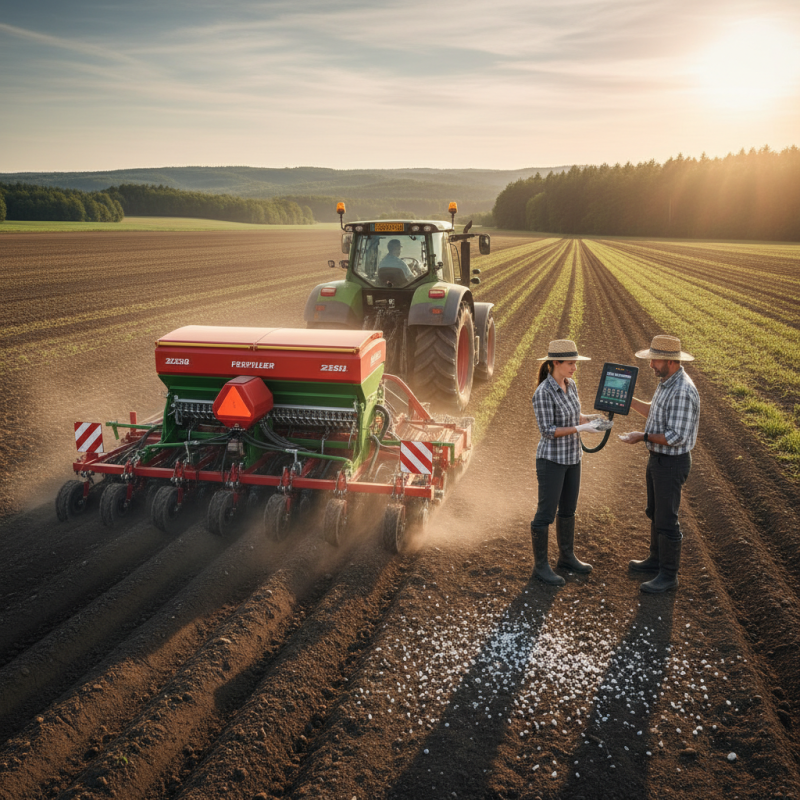
In modern agriculture, the use of a Seed and Fertilizer Integrated Seeder has transformed planting efficiency. According to a report by the International Food Policy Research Institute, this innovative equipment can reduce seeding time by up to 50% while ensuring optimal placement of seeds and fertilizers. Such advancements are crucial, especially as the global population continues to grow, necessitating increased food production.
Dr. Emily Carter, an agronomy expert, emphasizes the importance of this technology: “The Seed and Fertilizer Integrated Seeder is not just a tool; it’s a game-changer for sustainable agriculture.” As farmers seek to enhance productivity, understanding how to effectively use this integrated seeder is essential. While it offers numerous benefits, challenges remain in mastering its calibration and maintenance.
Farmers must also consider soil types and crop varieties for best results. The integration of seed and fertilizer must be done with precision. Neglecting this can lead to inadequate growth. Overall, leveraging the full potential of the Seed and Fertilizer Integrated Seeder requires knowledge and care. Mastering its use can significantly impact crop yields and sustainability in agriculture.
Understanding the Basics of Seed and Fertilizer Integrated Seeders
Understanding seed and fertilizer integrated seeders is crucial for modern agricultural practices. Reports indicate that using these machines can increase planting efficiency by up to 30%. These devices allow farmers to seamlessly integrate seed and fertilizer application in one pass. This method can significantly reduce labor costs.
A common tip is to calibrate your seeder to ensure proper seed placement. Many farmers overlook this step, leading to uneven planting. Ideally, seeds should be placed at the correct depth for optimal germination. Soil type and moisture levels should guide these adjustments.
Another critical point is to monitor fertilizer rates closely. According to agricultural studies, imbalance in micro and macronutrient levels can lead to poor crop yields. Regular soil tests provide insight into the precise needs of your crops. This practice could prevent the over-application of fertilizers, reducing environmental impact. Remember, it’s vital to reflect on past farming practices to improve future outcomes.
Choosing the Right Soil and Seed Combinations for Effective Planting
Choosing the right soil and seed combinations is crucial for effective planting. Different plants thrive in various soil types. For example, leafy greens prefer loamy soil, while root vegetables do well in sandy soil. Understanding these preferences helps avoid pitfalls like poor growth or even crop failure.
Before planting, test your soil. Check its pH levels and nutrient content. This information allows you to select seeds that will grow best. Mixing organic compost into your soil can boost nutrient levels. It enhances soil structure and drainage, creating a healthier environment for your seeds.
Many novice gardeners rush this step, leading to frustration later. Some learn too late that certain seeds fail in unsuitable soil. Observe your garden and adjust based on what works and what doesn’t. Reflecting on past planting experiences helps refine your soil and seed choices over time.
10 Essential Tips for Using Seed and Fertilizer Integrated Seeder
This chart illustrates the effectiveness of various soil and seed combinations for optimal plant growth using a seed and fertilizer integrated seeder.
Adjusting Seeder Settings for Optimal Seed Distribution and Fertilization
Adjusting seeder settings is crucial for optimal seed distribution and fertilization. An integrated seeder combines both functions efficiently. To achieve the best results, one must understand the mechanics involved. Proper calibration is essential. Regularly check the seed rate and fertilizer application settings.
One effective tip is to assess soil conditions before planting. This can greatly influence your settings. Moisture levels and soil type determine how seeds and fertilizers will penetrate the ground. Monitor these factors closely. Adjust seeder settings accordingly based on your observations. Sometimes, the manufacturer's guidelines may not fit your specific conditions.
Testing different settings on a small scale can provide insights. Experiment with seed spacing and depth. This might make a noticeable difference in crop yield. Don’t be afraid to re-evaluate your methods after each season. Continuous improvement is key in the farming process. Remember, farming is part science and part art, requiring adjustments along the way.
Maintenance Tips for Longevity and Performance of Integrated Seeders
Maintaining an integrated seeder is vital for its longevity. Regular checks are essential. Inspecting the seed and fertilizer compartments ensures no blockages exist. Clear away any debris after each use. A well-maintained seeder performs better and saves time in the long run.
Tip: Clean the seeder thoroughly after every planting session. This prevents buildup, which can affect performance. Pay attention to the seed rollers; they wear down quickly without proper care.
Proper lubrication is also key. Use the recommended grease for joint parts. A well-lubricated seeder runs smoother. Neglecting this can lead to mechanical issues, resulting in costly repairs.
Tip: Have a maintenance schedule in place. Regularly check for rust and corrosion. Addressing small issues prevents bigger ones, ensuring that your seeder stays efficient.
Best Practices for Timing and Techniques in Seeder Operation
Timing and techniques are critical in the operation of seed and fertilizer integrated seeders. Applying fertilizer too early or too late can impact crop growth. You need to know the specific needs of your soil and plants. Conduct a soil test to determine nutrient levels. Adjust your fertilizer application timing based on this test. This ensures that your plants receive nutrients when they need them most.
When operating the seeder, pay attention to soil moisture. Too dry or too wet can affect seed placement. Ideal conditions vary by crop type. For instance, some seeds prefer a moist seedbed, while others thrive in drier soil. Monitoring the weather can help you make timely adjustments. Overlooking weather factors might lead to disappointing yields. Always be prepared to adapt your techniques based on current conditions.
Calibration of the seeder is also vital. Ensure that the seed and fertilizer are distributed evenly. An improper calibration can lead to uneven growth. You might find that some areas of your field flourish while others struggle. Regularly check the seeder for clogs or wear. These small details can make a significant impact on your harvest. Reflection on these practices can lead to continuous improvement in your planting techniques.
10 Essential Tips for Using Seed and Fertilizer Integrated Seeder
| Tip No. | Tip Description | Optimal Timing | Technique |
| 1 | Calibrate the Seeder Properly | Before Planting | Check seed flow rate |
| 2 | Use Quality Seeds | Year-Round | Select certified seeds |
| 3 | Adjust Seeder Depth | During Planting | Follow crop recommendations |
| 4 | Monitor Soil Moisture | Before Planting | Use moisture sensors |
| 5 | Synchronize Seed and Fertilizer Application | During Planting | Use a combined seeder |
| 6 | Regularly Clean Seeder | After Use | Remove residue and dust |
| 7 | Follow Field History | Seasonal | Know past crop rotations |
| 8 | Set Correct Ground Speed | During Planting | Adjust for steady application |
| 9 | Pay Attention to Weather Conditions | Seasonal | Avoid planting before rain |
| 10 | Monitor and Adjust as Needed | During Planting | Check outputs regularly |